baking · Recipe
Pan de Muerto Tradicional
From a video by Jauja Cocina Mexicana · 14 min watch
Traditional Mexican Day of the Dead bread that is soft, fluffy, and aromatic with orange zest and orange blossom water.
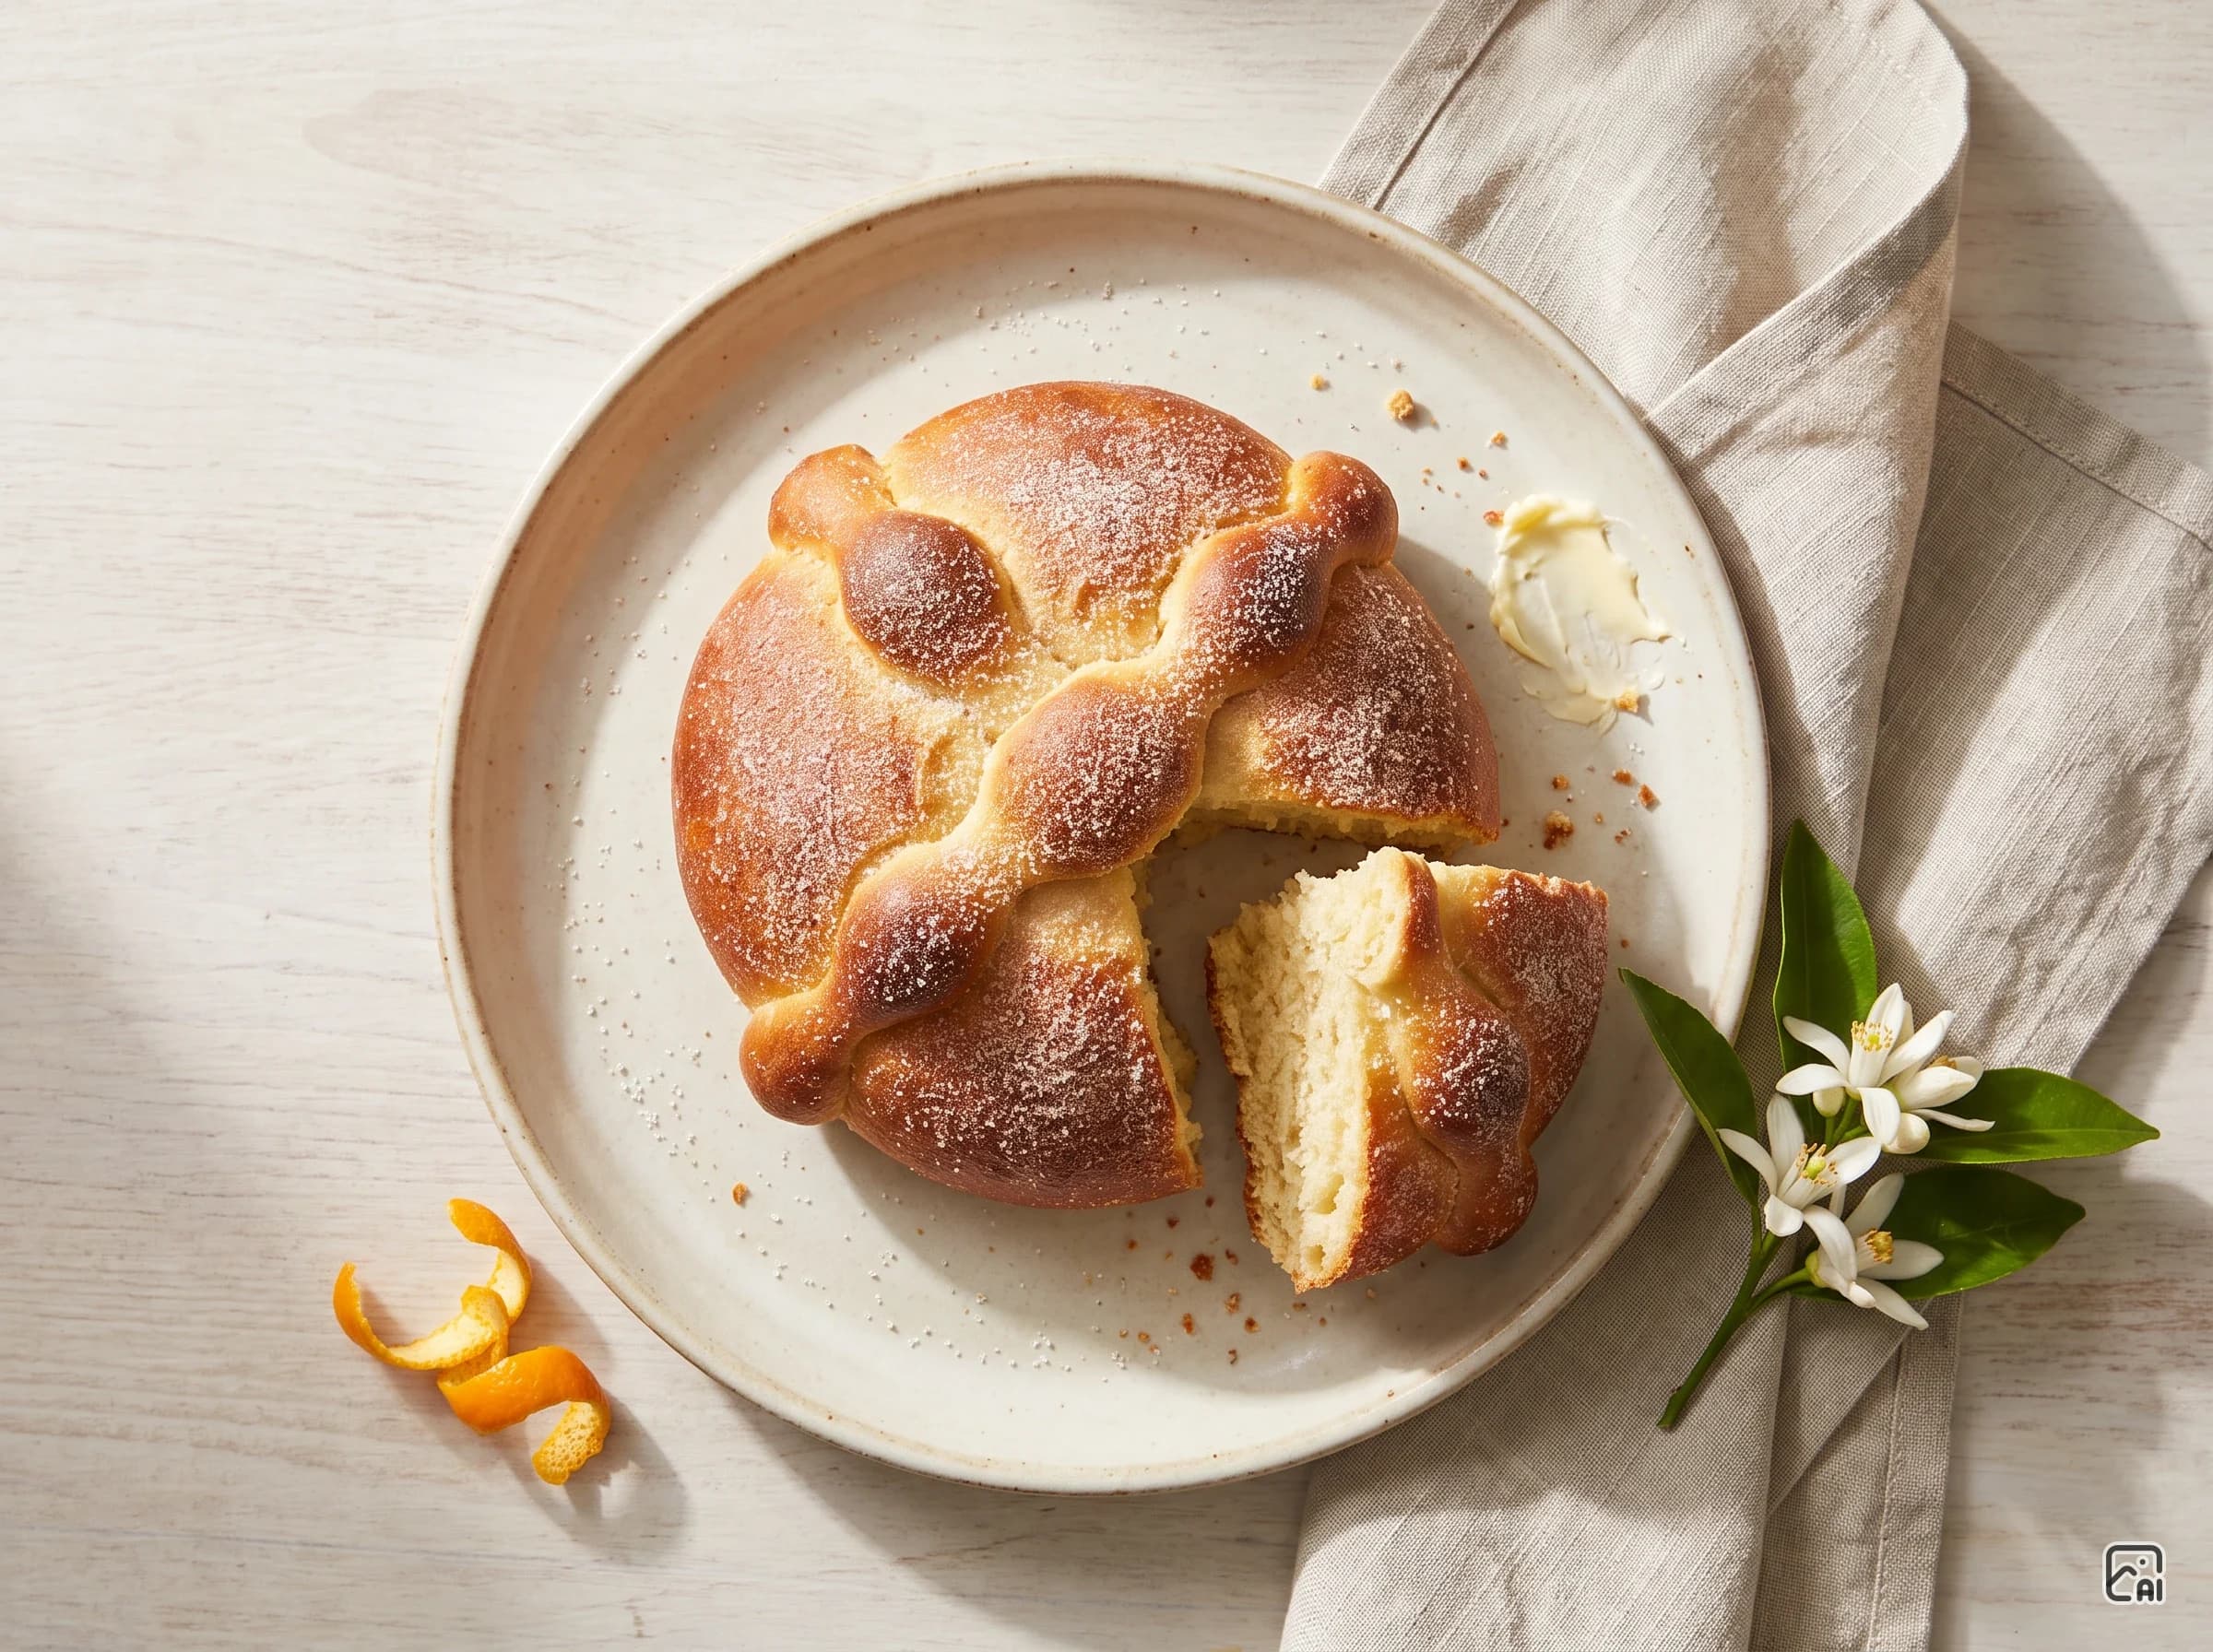
Source video — Jauja Cocina Mexicana on YouTube
From the creator
Total time
~7 hours 30 minutes+Estimated by Unreel from the recipe steps — the creator didn't state this.
Hands-on
~1 hour 15 minutesEstimated by Unreel from the recipe steps — the creator didn't state this.
Servings
3 servings
Difficulty
MediumEstimated by Unreel from the recipe steps — the creator didn't state this.
Extraction confidence: high
Auto-generated from the video and rewritten in our own words. Double-check quantities against the source before cooking.
Ingredients
Ingredients scaled to 3 servings
- 4 cups wheat flour
- 3 cups sugar
- 1 cup milk, warm
- 11 g instant yeast
- 3 egg
- 3 egg yolk
- 150 g butter, cut into pieces
- orange zest
- orange blossom water
- salt
Preparation
- Step 1To make the sponge (esponja), take 3 tablespoons of the flour and mix with the yeast, a little sugar, and warm milk (110 °F / 43 °C). Stir until the yeast is dissolved, cover with plastic, and let it ferment in a warm or sunny spot until bubbly and risen.
- Step 2While the sponge ferments, grate the zest from two oranges, avoiding the white pith which would make the bread bitter. Set the zest aside.
- Step 3After about 20 minutes, when the sponge is ready, place the remaining flour on a clean work surface and make a well in the center. Place the sugar around the outside of the well and the salt outside the sugar. Pour the sponge into the well.
- Step 4Add the 3 whole eggs plus 3 extra yolks (combined) one by one into the well, mixing each into the sponge and gradually incorporating flour from the sides until all eggs and yolks are added.
- Step 5Continue incorporating the remaining flour and then the sugar until all dry ingredients are mixed in. The mixture will become quite wet and loose.
- Step 6Gradually add the pieces of butter, incorporating them fully into the dough until completely absorbed.
- Step 7Add the orange blossom water and the reserved orange zest. Knead the dough vigorously for 20–30 minutes or longer. The dough will start very wet; do not add extra flour. Continue kneading with folding, stretching, and slapping motions until it becomes smooth, elastic, and pulls cleanly away from the work surface and hands. Perform the windowpane test: stretch a small piece until it is very thin and translucent without tearing.
- Step 8Lightly oil a bowl. Transfer the dough to the bowl, coat the top with a little more oil to prevent drying, cover with plastic, and let rise in a warm, draft-free place until doubled in volume (about 1–2 hours; in warm conditions it took 1 hour 15 minutes).
- Step 9Turn the risen dough out onto a lightly floured surface. Gently press or poke to degas. Divide into three equal portions for the loaves and reserve a smaller piece for the decorative bones and knobs.
- Step 10Shape each of the three larger portions into a smooth ball, keeping the seam on the bottom. Place on a baking sheet lined with parchment paper and gently press down slightly. Repeat with the remaining portions (one on a separate tray).
- Step 11For the decorations, lightly flour the reserved dough so it is slightly drier. Divide into small pieces. Roll portions into thin cylinders and shape into bone-like forms by rolling and pinching to create segments. Roll smaller pieces into smooth balls for the knobs.
- Step 12Lightly brush the loaves with water where the decorations will attach. Place two crossed bones on each loaf and a ball in the center, pressing gently so they adhere. Repeat for all loaves.
- Step 13Cover and let the decorated loaves rise in a warm place until doubled in volume (about 1 hour in warm/sun conditions).
- Step 14 · 340°F / 171°CBake in a preheated oven at 340 °F (170 °C) until golden brown, about 25–30 minutes depending on size. Cool on a wire rack.
- Step 15While the breads are still warm, brush with melted butter, sprinkle generously with sugar, and shake off any excess.
Notes
- Do not add extra flour even if the dough feels very wet at first; continued kneading will develop the proper texture and prevent a dry final bread.
- The white pith under the orange peel is bitter and must be avoided when zesting.
- Rise times vary with ambient temperature; the dough is ready when it has doubled in volume.
- The bread is best enjoyed fresh but can be stored in an airtight container once fully cooled.